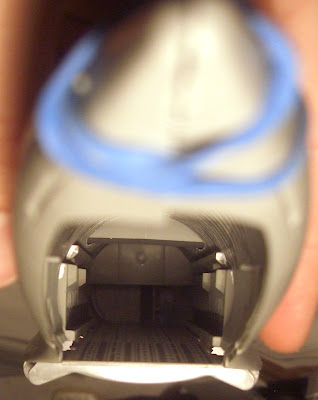
Here are both sides. The large gap on the right is the ramp/door, while the gaps in the middle are where the wing box/ER tanks are.
Here is a closeup of some of the sidewall seats (belts and buckles are molded into the plastic) and a troop door (handles here are freehand). Loadmaster station is freehand as well.
Next I did a fit test of the cargo bay with a rubber band. It is the two walls and the cargo floor/flight deck. The wing box sits nicely on top. You can see where the inside of the gear pod will attach, and the crew entrace door up front.
Then I fit the outer hull over the cargo bay, again held in place with rubber bands. The fit isn't great because of the band inside (I'll use tape if I do it again). Luckily, the vertical stab is molded on in one piece!
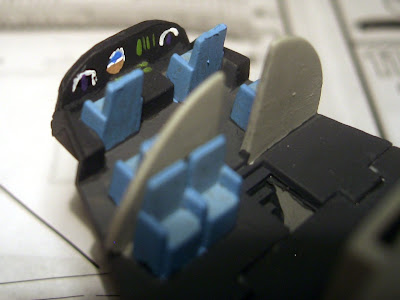
Looking like an airplane, at least until I take it apart again. This shot highlights the challenge that the windows will be. A single piece of clear plastic will cover the cockpit there, and I will have to paint the roof and columns by hand. Color matching will be very important, or I will have to paint the entire plane. I'm confident you will be able to see a bit of the MFDs I painted on, so I will make some sticks from some toothpicks and just glue them to the floor.
So, will any of my work detailing the cargo compartment be visible? Probably not. But you'll be able to see a tank in there! The bubble window into the crew rest area is plainly visible, even with the wing box in place.
Another view, without the outer hull on.
A better picture of the flight deck, no more work on it yet though.
And a preview for next time, the left side main gear struts. I painted them on the sprue, which worked out a bit better than the nose gear.
After I get the gear wells onto the inner hull I will have to wait on main hull assembly until I get my tank in the mail. Although it should fit through the open ramp/door, I don't want to deal with positioning and securing it with the walls up! I'll try to continue with other sub-assemblies though, and just keep them seperate until later.


No comments:
Post a Comment